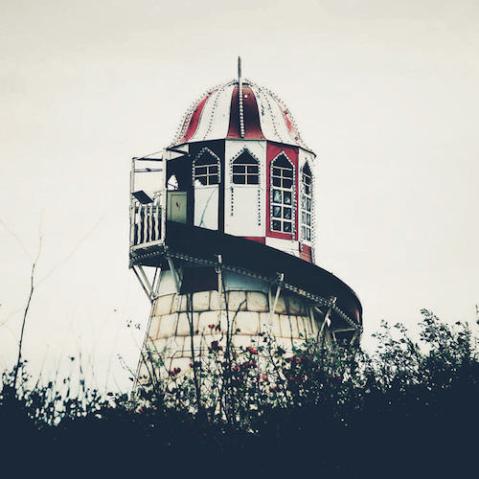
Striking the balance between and light and dark
When you have a photo that includes sharp contrast between light and dark, there’s always a possibility that you can lose detail in either the highlights or the shadows. While it’s generally recommended to ‘expose for the highlights’ so that you don’t blow out the lightest areas, you’ll also need to be careful not to push things too far when you process your photos. It’s one thing to be aware that your picture’s brightest areas are under threat, or are almost ruined. But how do you respond?

Seek out the tension
First of all, you do not need to worry. Quite the contrary—it’s good that you are keeping an eye on this. It is perfectly normal that there is some tension between the appearance of the very brightest parts of the picture and its overall brightness. In fact, balancing these qualities is part of what helps bring the best out of your photo.
Backing off
One approach is to back off, and not to be quite so aggressive when you adjust the overall brightness in your image. If you drag the Exposure slider Or its equivalent depending in the programme you use) a fraction less far to the right, the picture may still look just as good as before, but with its highlights not pushed beyond their limit. The overall image may be a touch less bright, but its brightest areas remain interesting.
Use the tools at your disposal
When using Lightroom there are tools that you can use to assist your eyes to ensure that you get things right. There’s the histogram, there are clipping indicators, spikes, and the number readout.

The Alt (PC) / Option (Mac) key is particularly helpful with this kind of fine tuning. As you drag the Exposure slider a tiny bit back to the left, hold down Alt (PC) / Option (Mac) and the white patches will start breaking up into areas of solid color. This is showing you that where these areas had been burned-out in all three color channels, moving Exposure to its left has limited the clipping to one or more channels. There may now be some detail visible in those parts of the picture.

So briefly release the Alt (PC) / Option (Mac) key and review the image, most of all those awkward highlight areas. That small change may be all that is needed, or you may decide to repeat the process. Press the Alt (PC) / Option (Mac) key and nudge Exposure a bit more to the left, release and evaluate. Fine tuning is often an iterative process.

101 Top Tips for Black & White Digital Photography is John Beardsworth’s exploration of the most powerful techniques for converting your colour shots into stunning, high-quality black-and-white photos, with detailed explanations of how each tool works and why you should try it on your own images. In addition to providing an abundance of step-by-step instructions with brilliant imagery, Beardsworth also teaches the aesthetic value of black and white, and how to visualize the creative potential of each shot.
[one_whole boxed=”true”]
 101 Top Tips for Black & White Digital Photography, by John Beardsworth
£6.99 Download the PDF now!
This PDF version retains the styling of the original print book.
RRP for print edition: £14.99
[button color=”Accent-Color” size=”small” url=”https://www.ilexinstant.com/product/101-top-tips-for-black-white-digital-photography/” text=”Digital Edition”] [button color=”Accent-Color” size=”small” url=”http://www.amazon.co.uk/dp/1908150904?tag=ilexpresscom-21&camp=1406&creative=6394&linkCode=as1&creativeASIN=1908150904&adid=1RBP7VCJ0BNN4TY98XQ5&&ref-refURL=http%3A%2F%2Fwww.ilexinstant.com%2Fproduct%2F101-top-tips-for-black-white-digital-photography%2F” text=”Amazon UK (Print)”]
[button color=”Accent-Color” size=”small” url=”http://www.amazon.com/Tips-Black-White-Digital-Photography/dp/1908150904/ref=as_li_qf_sp_asin_til?tag=ilexinst-20&linkCode=w00&creativeASIN=1908150904″ text=”Amazon USA (Print)”]
[/one_whole]


