Controlling texture in your studio shots
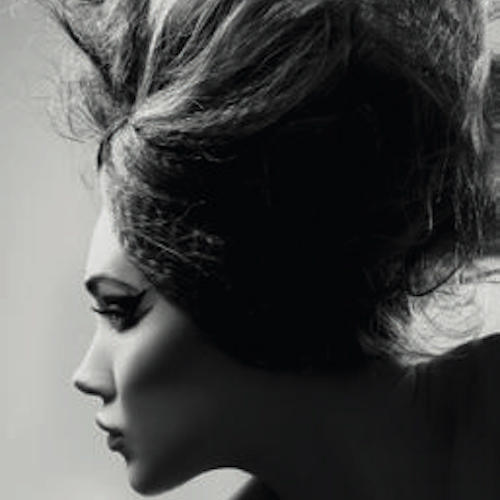
The success of a shoot is made by a wide variety of small components that all come together in harmony to enhance one another. For as important as they can be, no great picture is ever achieved by concentrating attention purely on camera settings or a subject’s pose and neglecting the world of finer details. Texture is one such detail element that emerges with the appearance of light. In the dark everything looks smooth and one-dimensional, but when light comes into play, the world comes to life in a huge variety of three-dimensional forms, each with their own depth and tangible composition. For as little attention as we typically pay to it, texture exists in every lit scene in different intensities and positions, either creating detail and depth or disrupting harmony and causing distraction.
By understanding how light creates and affects texture, we can learn to use our available instruments to operate and alter it in our favour to best suit our needs and projects.
During a normal shoot we end up photographing a wide variety of different elements: skin, hair, clothes, backdrops, and the like. For as smooth as these things may sometimes seem, everything has a texture, a specific composition that we can often see and always feel with our fingertips. Texture is an element that can add a beautiful extra touch, making things seem more real and sharp and reinforcing the concept behind the shot. In some cases, however, texture can become distracting and deviate attention from the subject and can make the image appear untidy and disorganised.
Imagine photographing a subject posing against a highly creased background or wearing creased clothes. If none of these elements are meant to appear in the picture to convey a specific message, then they can negatively affect the quality and impact of the shot. Through proper use of both camera settings and light, however, we can control any textures that we come across, enhancing the ones that we need and smoothing out the ones that we do not.
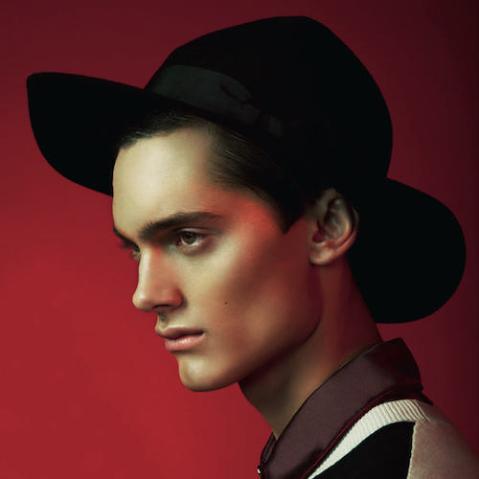
Texture is always minimised by diffused, soft lighting and the use of light sources positioned directly opposite a subject. This setup tends to smooth textures and creases by not allowing them to create visible shadows and it is a solution I often use when working in studio with a paper background that is not completely smooth. Background texture can be also minimised in camera through the use of a wide aperture, which will gently blur everything before and after the focal point (the subject), to the point of potentially making it disappear completely in soft blur.
Contrarily, texture is enhanced by hard light and the use of light sources positioned at an angle to the subject, such as by their side or high above their head. To maximise the appearance of texture when shooting in studio, place the main light in one of these positions and block any ambient light from reaching the set. In camera, you can select a narrow aperture to make sure that any texture of background or foreground is not blurred, but captured in focus and detail.
Lighting People: A Photographer’s Reference is Rosella Vanon’s complete reference and guide to lighting techniques and posing models. Lighting People is an art every photographer—and every photography student—must master, and this single volume is both a complete course and the most useful reference book you can find.
 Lighting People: A Photographer’s Reference
Rosella Vanon
Buy it now!
RRP for print edition: £24.99


